Table of Contents
ToggleMobile home windows aren’t just smaller versions of stick-built house windows, they’re engineered for thinner walls, flex-friendly frames, and completely different installation methods. If you’ve been pricing out replacements and getting confused by conflicting advice, you’re not alone. Standard residential windows won’t fit, big-box stores rarely stock the right sizes, and DIY videos often skip critical details like wall cavity depth and frame compatibility. Whether you’re dealing with condensation between panes, drafts that spike your heating bill, or rotted frames from years of moisture intrusion, this guide walks through everything needed to choose, budget for, and install replacement windows in a manufactured home.
Key Takeaways
- Mobile home windows require specialized knowledge and supplier relationships because they’re designed for thinner 2-3 inch walls with flanged frames that differ fundamentally from standard residential window installation methods.
- Signs your mobile home window replacement is overdue include condensation between panes, soft or discolored frames, drafts that spike energy bills, and windows that won’t open fully to meet bedroom egress requirements.
- Vinyl frames offer superior energy efficiency and condensation control compared to aluminum, with U-factors around 0.30 or lower, though they may warp in extreme heat without proper dark-color frame management.
- Budget $200–$450 per vinyl window including materials and installation for standard sizes, with costs rising 20-40% for custom dimensions and labor rates ranging from $75–$250 per opening depending on your region.
- DIY mobile home window replacement is feasible for 1-2 standard-sized windows with sound framing, but hiring a professional becomes worthwhile when replacing 4+ windows, addressing structural damage, or dealing with specialty units.
- Properly leveling your new window to within 1/8 inch, applying butyl tape to the flange, and fastening with correctly-spaced screws prevents future leaks and ensures smooth operation for years to come.
Why Mobile Home Windows Are Different from Standard House Windows
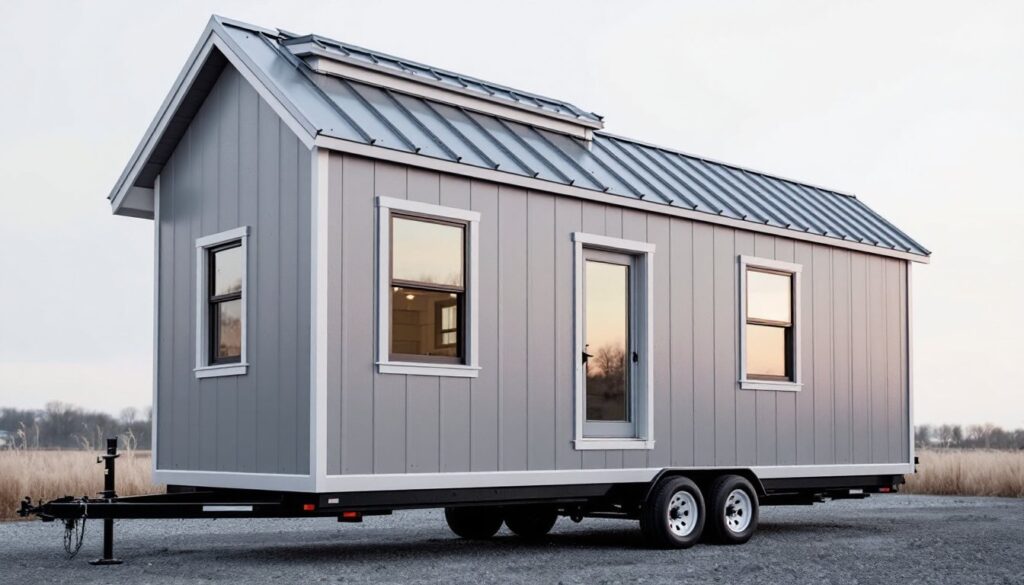
Manufactured homes are built to HUD Code (not IRC), which governs everything from wall thickness to egress requirements. Typical mobile home walls measure 2-3 inches thick compared to 4-6 inches in stick-built homes. This means standard residential windows, designed to sit in a 2×4 or 2×6 wall cavity, simply won’t work.
Mobile home windows use a flanged frame system that mounts flush to the exterior siding rather than sitting inside a rough opening with interior trim. The frame secures directly to the wall studs with screws, then gets sealed with butyl tape or lap sealant. There’s no exterior brick mold or traditional J-channel in most cases.
Another key difference: glass size and aspect ratios. Mobile home windows often come in non-standard dimensions like 30×36, 35×18, or 36×24 inches, sizes rarely stocked at big-box retailers. You’ll typically order from specialty suppliers who understand HUD-code construction. Egress requirements for bedrooms still apply, but the IRC’s minimum opening size may differ slightly from HUD standards, so verify local code before ordering.
Signs It’s Time to Replace Your Mobile Home Windows
Condensation between panes is a clear red flag. If moisture collects inside a double-pane unit, the seal has failed and the insulating argon or krypton gas has leaked out. You can’t repair this, only replacement restores thermal performance.
Look for soft or discolored frames. Aluminum oxidizes and pits over time, especially in coastal or humid climates. Vinyl frames can crack from UV exposure or become brittle in freeze-thaw cycles. Press a flathead screwdriver gently into the frame corners: if it sinks in, rot has compromised structural integrity.
Drafts and high energy bills often point to failed weatherstripping or frames that have pulled away from the wall. Mobile homes flex slightly as they settle, which can break the seal between the window flange and siding. Run your hand around the perimeter on a windy day, if you feel air movement, it’s time to pull the unit and reseal or replace.
Difficult operation is another clue. If sashes bind, locks won’t engage, or you’re propping windows open with a stick, the frame may be warped or the balance system has failed. Safety matters too: bedroom windows must meet egress requirements, so if a unit won’t open fully, replacement isn’t optional.
Types of Replacement Windows for Mobile Homes
The two primary frame materials for window replacement for mobile homes are vinyl and aluminum, each with distinct trade-offs in cost, durability, and energy efficiency.
Vinyl vs. Aluminum Window Frames
Vinyl frames dominate the replacement market for good reason. They don’t conduct heat like metal, which reduces condensation and improves insulation. Multi-chamber extrusions (three or more hollow cavities inside the frame profile) boost rigidity and thermal performance. Expect Low-E glass with argon fill as standard on mid-grade units, delivering U-factors around 0.30 or lower.
Downsides: vinyl can warp in extreme heat if dark-colored frames absorb too much solar radiation. It’s also less rigid than aluminum, so larger openings may require reinforced frames or divided-lite configurations to prevent sagging.
Aluminum frames cost less upfront and handle wide spans without flexing. They’re common in older mobile homes and still spec’d in budget replacements. The catch: aluminum is a thermal bridge, meaning cold transfers directly through the frame. Even with a thermal break (a plastic separator inside the extrusion), aluminum windows underperform vinyl in heating climates.
Choose aluminum if you’re in a mild climate, need maximum glass area, or you’re matching existing windows in a partial replacement. Opt for vinyl if energy efficiency, condensation control, or long-term durability matter more than initial cost.
Both materials come in single-hung (bottom sash slides), horizontal slider, and awning (hinged at top) configurations. Single-hung units dominate bedroom and living areas: sliders fit wide, shallow openings common in mobile home kitchens.
How Much Does Mobile Home Window Replacement Cost?
Budget $200–$450 per window for vinyl units including materials and basic installation, assuming standard sizes and no structural repairs. Aluminum windows run $150–$300 each but may cost more long-term in energy losses.
Those figures shift based on several factors. Custom sizes, anything outside the 30×36 to 36×54 range, add 20-40% to material cost because they’re built to order rather than pulled from stock. Upgrades like triple-pane glass, impact ratings for hurricane zones, or obscure glass for bathrooms tack on another $50–$150 per window.
Labor varies widely by region. In the Midwest and South, installers typically charge $75–$125 per opening. Coastal markets and the Northeast can run $150–$250 per window, especially if you’re hiring a licensed contractor instead of a handyman. Professional installation makes sense when dealing with multiple windows, tricky flashing details, or if you lack confidence removing exterior siding panels without damage.
Permit fees are usually minimal, $50–$150 for the whole job, but some jurisdictions require them even for like-for-like replacements. Check with your local building department before ordering. Many project cost guides break down regional pricing and list typical labor rates, which helps set realistic expectations before getting quotes.
If rot extends into wall studs or sheathing, repairs add $100–$400 per opening depending on severity. Always inspect framing before ordering windows, you may need to sister in new studs or replace sections of OSB, both of which require carpentry skills and drive up total cost.
DIY Mobile Home Window Replacement: Step-by-Step Process
Safety first: Wear safety glasses and work gloves throughout. If removing old putty or caulk, a dust mask prevents inhaling particles.
Tools and materials needed:
- Flathead screwdriver and drill/driver with Phillips and square bits
- Utility knife with fresh blades
- Pry bar (flat Wonder Bar works well)
- Butyl tape or lap sealant rated for mobile home use
- Shims (composite or cedar)
- Level (24-inch torpedo level minimum)
- Caulk gun and exterior-grade siliconized acrylic caulk
Step 1: Remove interior trim and measure the rough opening. Pop off any interior trim or snap-in vinyl stops. Measure width and height at three points (top, middle, bottom for width: left, center, right for height). Order windows to fit the smallest measurement, which accounts for out-of-square openings.
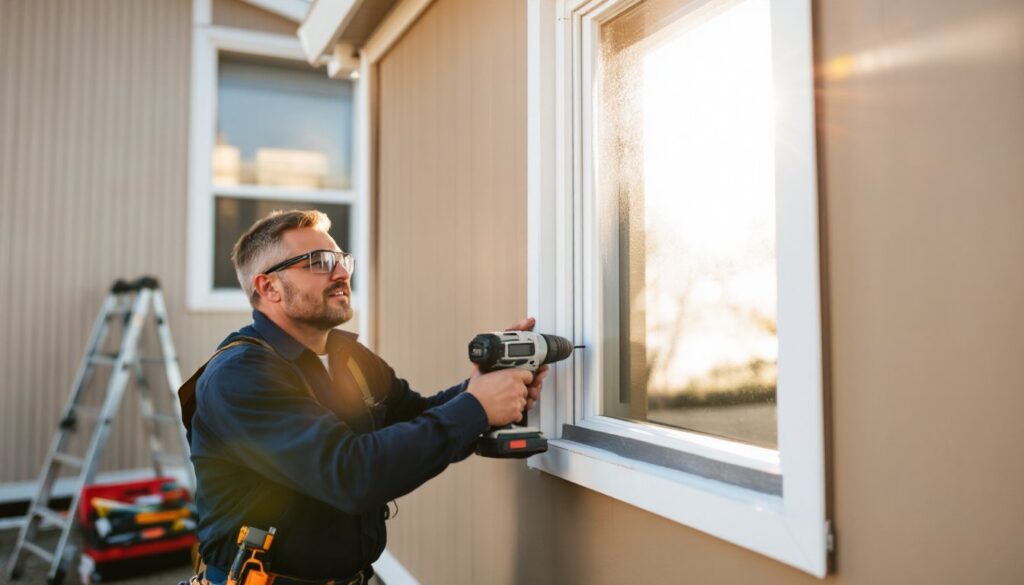
Step 2: Remove the old window from the outside. Most mobile home windows fasten with screws through the flange into wall studs. Remove siding screws around the perimeter, then carefully pry the unit out. Expect old lap sealant to resist, slice through it with a utility knife rather than forcing the frame, which can crack siding.
Step 3: Inspect and repair the rough opening. Check studs and sheathing for rot, especially at the sill. If wood feels soft or discolored, cut out damaged sections and sister in new framing. This isn’t optional, setting a new window into compromised framing leads to leaks and future failure.
Step 4: Apply butyl tape to the flange. Run a continuous bead of butyl tape (or lap sealant if that’s what the manufacturer specifies) along the back of the nailing flange. This creates a waterproof seal between the frame and siding.
Step 5: Set the window and level it. Lift the new unit into the opening from outside. Use shims at the sill to level the frame side-to-side and plumb it vertically. A window that’s off by more than 1/8 inch won’t operate smoothly and may leak.
Step 6: Fasten the window. Drive screws through the flange into the studs, starting at the top corners, then bottom corners, then spacing screws every 8–12 inches along the sides and top. Don’t overtighten, snug them until the flange contacts the siding, but cranking down hard can bow the frame and bind the sash.
Step 7: Seal and finish. Run a bead of exterior caulk around the perimeter where the flange meets the siding. Reinstall interior trim or snap-in stops. Open and close the sash several times to confirm smooth operation.
This process scales well for single windows. If you’re tackling a whole-home replacement, work methodically, one window per day keeps quality high and prevents rookie mistakes that come from rushing.
When to Hire a Professional vs. Going DIY
DIY makes sense if:
- You’re replacing one or two windows in standard sizes
- The rough openings are square and framing is sound
- You’re comfortable working on a ladder and handling 40-50 lb. window units
- Local code doesn’t require a licensed contractor for the work
Replacing a single bedroom window on a calm weekend is a realistic project for someone with basic carpentry skills. You’ll save $75–$250 per window in labor, and the process teaches you enough to handle future replacements confidently.
Hire a pro if:
- You’re replacing more than four windows (volume pricing often offsets labor cost)
- Structural repairs are needed, rotted sills, damaged studs, or compromised sheathing
- The home has specialty windows (bay, garden, or picture windows)
- You’re in a high-wind or seismic zone where flashing and fastening details follow strict code
- You lack the tools, time, or confidence to do it right the first time
Professionals carry liability insurance, pull permits where required, and warranty their work, typically one to two years on labor. They also spot issues a DIYer might miss, like inadequate ventilation causing interior condensation or improper flashing that leads to hidden water damage. If you’re unsure whether a step-by-step guide matches your skill level, getting at least one quote helps calibrate expectations.
One often-overlooked factor: timing. Pulling a window leaves your home exposed to weather. Professionals move faster and can often complete a whole-home replacement in one or two days. DIYers working solo may need a full weekend per window, which extends the risk window for rain or temperature swings.
Bottom line: if the project feels like a stretch, it probably is. There’s no shame in hiring out, botched window installation leads to rot, mold, and energy loss that cost far more than paying a pro upfront.